I was just coming back from a year-long break from all things WordPress when I launched this site. Since 2010, I’ve been a WordPress power user, as a blogger and as a professional, and though I’d watched much of the Block Editor development first-hand, I wasn’t prepared for how much it evolved in such a short period of time!
Luckily, there is a plethora of fantastic resources available to help demystify this new(er) WordPress interface. As I dove back into the updated Block Editor, I leaned on these practices to buff up my own understanding. And now, I’m passing them along to you.
What is the Block Editor?
Let’s start with what came before the Block Editor. Previously, WordPress used what is known as a WYSIWYG editor, meaning “What you see is what you get.” Creating a new post or page in the WordPress Classic Editor was similar to tools like Google Docs or Microsoft Word. From your site Dashboard, you typed directly into a blank text box and could adjust the appearance of your content with standard formatting tools.
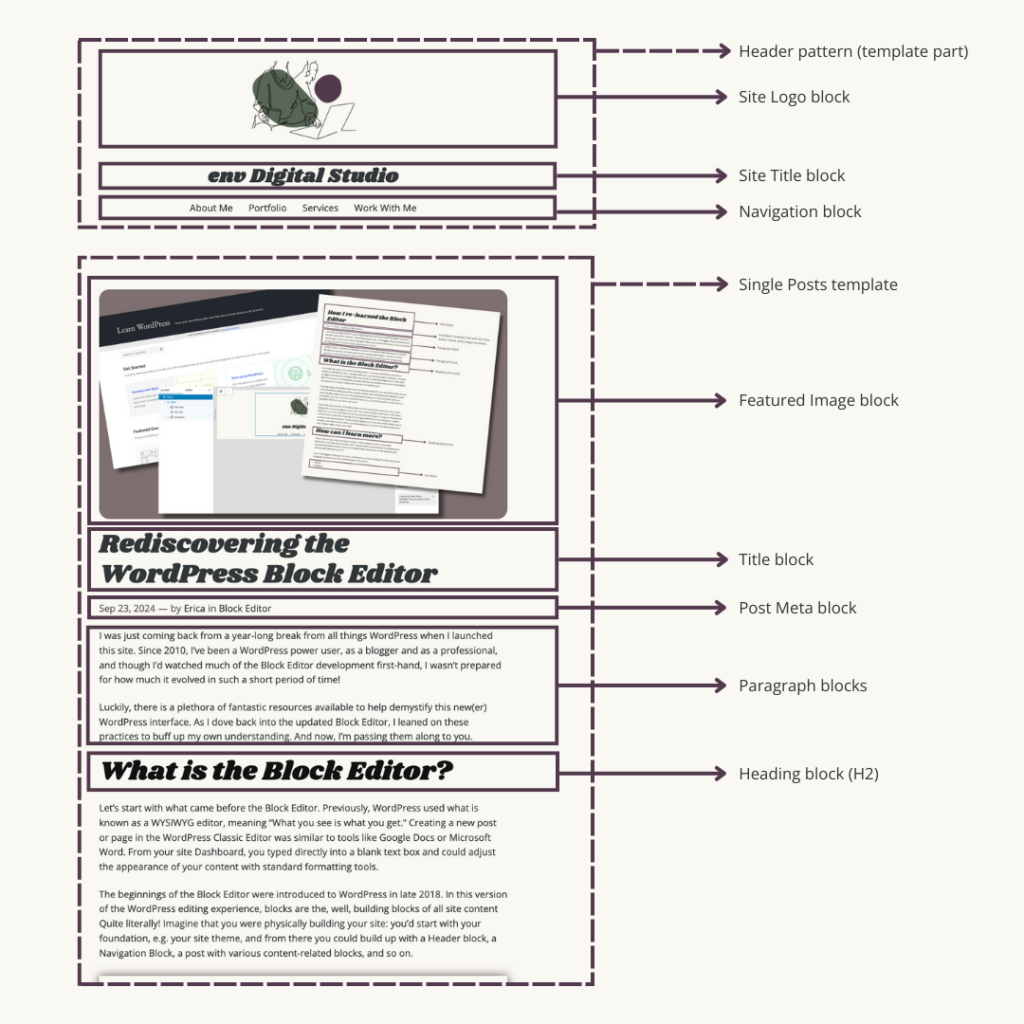
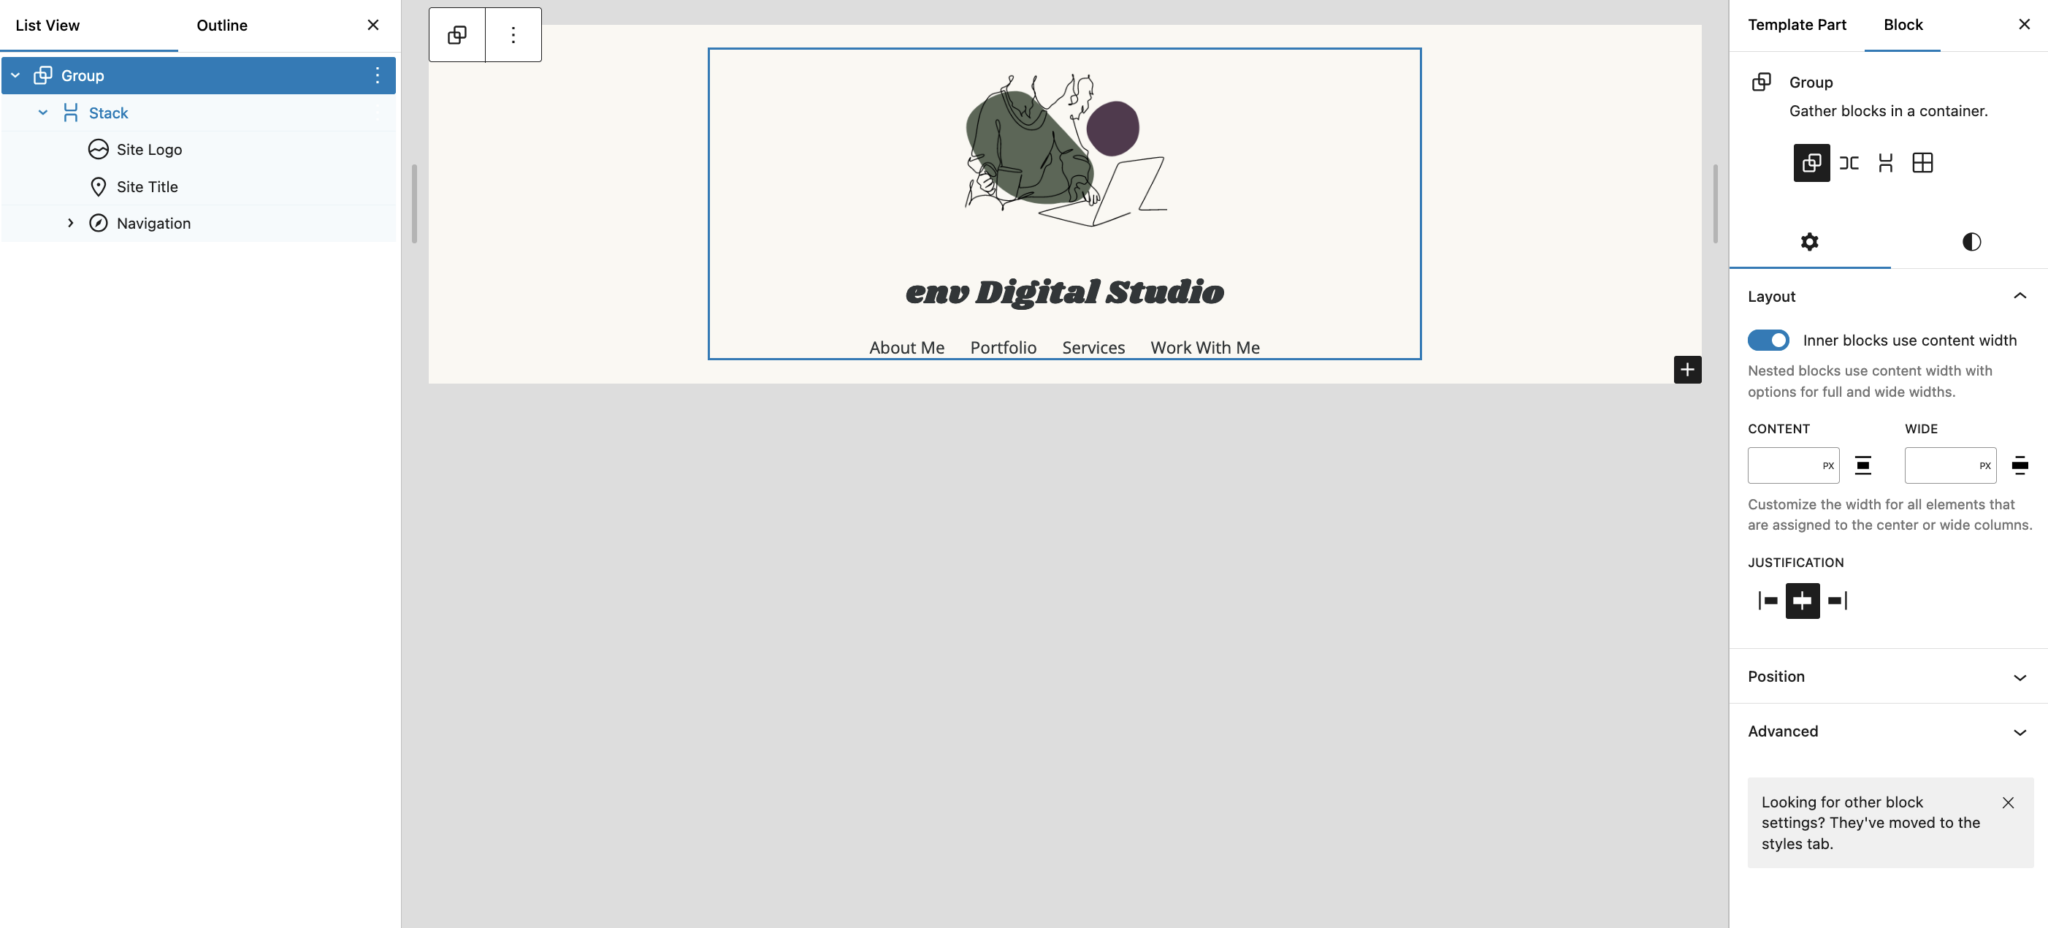
The beginnings of the Block Editor were introduced to WordPress in late 2018. In this version of the WordPress editing experience, blocks are the, well, building blocks of all site content Quite literally! Imagine that you were physically building your site: you’d start with your foundation, e.g. your site theme, and from there you could build up with a Header block, a Navigation Block, posts with various content-related blocks, and so on.

One of the main benefits of the Block Editor is that it allows you to see your site content being built as it would appear on your site. The content creation experience in the Classic Editor was a bit more removed: you wrote your posts on a page in the Dashboard, or admin area, of your site. This meant that only through publishing or previewing your content could you see what the end result would look like. The Block Editor allows you to edit and create content, layout changes, and other customizations, all while viewing your site from the same perspective that a visitor might. Pretty neat, right?
How can I learn more?
There’s a learning curve to any large change in how a software works. Fortunately, WordPress is an open source project with a vibrant community dedicated to educating and empowering others in how it works. As the Block Editor developed, so did resources and educational materials around it.

As I refreshed my understanding of Full Site Editing, one of my biggest challenges was wrapping my head around the different parts of the editor:
- Blocks
- Patterns
- Template parts
- Templates
- Styles
Personally, I learn best when I can gather all of the basic information first, and then test it out. For me, this looked like working through two of my favorite Block Editor resources: Learn WordPress and Full Site Editing with WordPress.
Both of these (free) resources offer an introduction to using the Block Editor. They include clear definitions on key terminology, visual examples of how to use the Block Editor, and comprehensive summaries so you can put it all together.
- Start using WordPress on Learn WordPress
- Introduction to the Site Editor on Full Site Editing with WordPress
For those who learn better through interacting with others, Learn WordPress also hosts online workshops and many local WordPress meetups have help desks, as well.
Testing as you go is a great way to put your newfound skills into practice, too. Setting up a test site that’s just on your computer — also called a local site — is a helpful tool to have in your toolbox. When you’re ready to give it a go, Learn WordPress has yet another handy lesson on how to get started, or you can use WordPress Playground to spin up a temporary test site in your browser.
Take it one block at a time!


Leave a Reply